△Click on the top right corner to try Wukong CRM for free
Self-Learning Tutorial for CRM Development: A Practical Guide for Aspiring Developers
Customer Relationship Management (CRM) systems have become indispensable tools for businesses of all sizes. From small startups to multinational corporations, organizations rely on CRMs to manage interactions with current and potential customers, streamline sales processes, and improve customer service. If you're a developer looking to build your own CRM—or simply understand how these systems work from the ground up—this self-learning tutorial is designed to guide you through the essential concepts, tools, and steps without overwhelming you with unnecessary theory. The focus here is on hands-on learning, practical implementation, and real-world relevance.
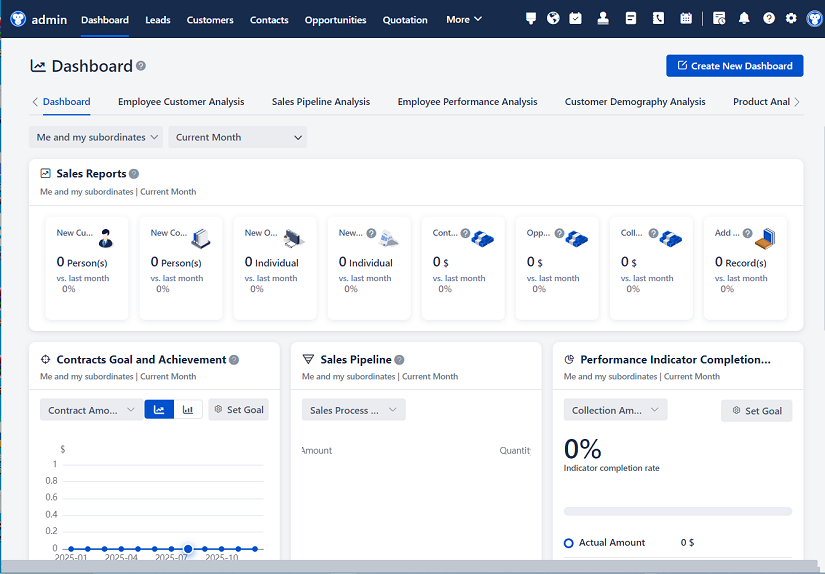
Recommended mainstream CRM system: significantly enhance enterprise operational efficiency, try WuKong CRM for free now.
Why Build Your Own CRM?
Before diving into code, it’s worth asking: why not just use an existing solution like Salesforce, HubSpot, or Zoho? While those platforms are powerful and feature-rich, they often come with limitations—cost, lack of customization, vendor lock-in, or complexity that doesn’t match your business needs. Building your own CRM gives you full control over functionality, data ownership, user experience, and scalability. Plus, the process itself is an excellent way to deepen your understanding of full-stack development, database design, and user-centered software architecture.
Step 1: Define Your Scope and Core Features
One of the biggest mistakes beginners make is trying to build a “complete” CRM from day one. Instead, start small. Identify the minimum viable product (MVP) that solves a specific problem. For most small businesses, core features include:
- Contact Management: Store and organize customer information (name, email, phone, company, etc.).
- Interaction Tracking: Log calls, emails, meetings, and notes related to each contact.
- Task & Reminder System: Assign follow-ups or tasks with due dates.
- Basic Reporting: View activity history or upcoming tasks.
Avoid adding advanced features like marketing automation, AI-driven insights, or complex integrations until your foundation is solid.
Step 2: Choose Your Tech Stack Wisely
Your choice of technology will shape your development speed, maintainability, and future scalability. Here’s a balanced, beginner-friendly stack that’s widely used and well-documented:
- Frontend: React.js (with hooks and functional components). It’s component-based, has a massive ecosystem, and integrates smoothly with modern tooling.
- Backend: Node.js with Express.js. Lightweight, JavaScript-based, and perfect for RESTful APIs.
- Database: PostgreSQL. It’s robust, supports relational data well (ideal for contacts, companies, interactions), and scales better than SQLite or MongoDB for this use case.
- Authentication: Use Passport.js or integrate OAuth via Auth0 for secure login.
- Hosting: Start locally, then deploy to platforms like Render, Vercel (frontend), or Railway (backend + DB).
This stack avoids overly complex frameworks while giving you room to grow. You’ll also find countless tutorials and community support if you get stuck.
Step 3: Design the Database Schema
A well-structured database is the backbone of any CRM. Sketch out your entities and relationships before writing a single line of code. At a minimum, you’ll need:
- Users: Stores admin or team member accounts.
- Contacts: Holds customer details.
- Companies: Optional but useful if you’re B2B.
- Interactions: Logs every communication (type: call/email/meeting; timestamp; notes).
- Tasks: To-do items linked to contacts or users.
Example simplified schema:
CREATE TABLE users (
  id SERIAL PRIMARY KEY,
  email VARCHAR(255) UNIQUE NOT NULL,
  password_hash TEXT NOT NULL
);

CREATE TABLE contacts (
  id SERIAL PRIMARY KEY,
  first_name VARCHAR(100),
  last_name VARCHAR(100),
  email VARCHAR(255),
  phone VARCHAR(20),
  company_id INTEGER REFERENCES companies(id)
);

CREATE TABLE interactions (
  id SERIAL PRIMARY KEY,
  contact_id INTEGER REFERENCES contacts(id),
  user_id INTEGER REFERENCES users(id),
  type VARCHAR(20), -- 'call', 'email', 'meeting'
  notes TEXT,
  created_at TIMESTAMP DEFAULT NOW()
);
Use foreign keys to enforce relationships. Normalize your data to avoid duplication, but don’t over-normalize—simplicity matters in early stages.
Step 4: Build the Backend API
With your schema ready, create RESTful endpoints that your frontend can consume. Focus on CRUD operations first:
GET /contacts– list all contactsPOST /contacts– create a new contactPUT /contacts/:id– update a contactDELETE /contacts/:id– delete a contact
Do the same for interactions and tasks. Use middleware for authentication—ensure only logged-in users can access these routes.
Here’s a minimal Express route example:
// routes/contacts.js
const express = require('express');
const router = express.Router();
const db = require('../db'); // your PostgreSQL connection

router.get('/', async (req, res) => {
  try {
    const contacts = await db.query('SELECT * FROM contacts ORDER BY last_name');
    res.json(contacts.rows);
  } catch (err) {
    console.error(err);
    res.status(500).json({ error: 'Server error' });
  }
});

router.post('/', async (req, res) => {
  const { first_name, last_name, email, phone } = req.body;
  try {
    const result = await db.query(
      'INSERT INTO contacts (first_name, last_name, email, phone) VALUES ($1, $2, $3, $4) RETURNING *',
      [first_name, last_name, email, phone]
    );
    res.status(201).json(result.rows[0]);
  } catch (err) {
    res.status(400).json({ error: 'Invalid input' });
  }
});

module.exports = router;
Always validate and sanitize input to prevent SQL injection or malformed data. Use libraries like joi or express-validator for request validation.
Step 5: Develop the Frontend Interface
Now connect your React app to the backend. Use fetch or axios to call your API endpoints. Structure your app with reusable components:
<ContactList />– displays all contacts in a table<ContactForm />– handles creation and editing<InteractionLog />– shows past communications for a selected contact
Leverage React state (useState, useEffect) to manage data flow. For example:
// ContactList.jsx
import { useState, useEffect } from 'react';
import axios from 'axios';

export default function ContactList() {
  const [contacts, setContacts] = useState([]);

  useEffect(() => {
    axios.get('/api/contacts')
      .then(res => setContacts(res.data))
      .catch(err => console.error('Failed to fetch contacts', err));
  }, []);

  return (
    <div>
      <h2>Contacts</h2>
      <ul>
        {contacts.map(contact => (
          <li key={contact.id}>
            {contact.first_name} {contact.last_name} – {contact.email}
          </li>
        ))}
      </ul>
    </div>
  );
}
Keep the UI clean and functional. Don’t obsess over perfect design early on—focus on usability. Tools like Tailwind CSS or Bootstrap can help you style quickly without deep CSS knowledge.
Step 6: Implement Authentication
Security is non-negotiable. Even a simple CRM stores sensitive customer data. Implement secure user registration and login:
- Hash passwords using
bcryptbefore storing them. - Issue JWT tokens upon successful login.
- Store the token in
httpOnlycookies (not localStorage) to mitigate XSS risks. - Validate the token on protected routes.
Example login logic:
// In auth controller
const bcrypt = require('bcrypt');
const jwt = require('jsonwebtoken');

async function login(req, res) {
  const { email, password } = req.body;
  const user = await db.query('SELECT * FROM users WHERE email = $1', [email]);

  if (user.rows.length === 0 || !await bcrypt.compare(password, user.rows[0].password_hash)) {
    return res.status(401).json({ error: 'Invalid credentials' });
  }

  const token = jwt.sign({ userId: user.rows[0].id }, process.env.JWT_SECRET, { expiresIn: '1d' });
  res.cookie('token', token, { httpOnly: true, secure: process.env.NODE_ENV === 'production' });
  res.json({ message: 'Logged in' });
}
On the frontend, redirect unauthenticated users away from protected pages using a custom hook like useAuth().
Step 7: Add Real-World Polish
Once your MVP works, enhance it with practical touches:
- Search & Filtering: Allow users to search contacts by name or company.
- Pagination: Avoid loading thousands of records at once.
- Data Export: Let users download contact lists as CSV.
- Error Handling: Show friendly messages when things go wrong.
- Responsive Design: Ensure the app works on mobile devices.
These features dramatically improve user experience without requiring major architectural changes.
Step 8: Test and Iterate
Testing doesn’t have to be formal. Manually click through every feature. Try edge cases: What happens if you submit an empty form? What if the internet drops during a save? Fix bugs as you find them.
Later, consider writing unit tests for critical functions (e.g., password hashing, data validation) using Jest. But in the early phase, rapid iteration beats perfection.
Step 9: Deploy and Monitor
When you’re ready to share your CRM, deploy it:
- Push your code to GitHub.
- Connect your backend to Railway or Render—they auto-deploy from Git.
- Set environment variables (like
JWT_SECRET, database URL) securely. - Point your frontend (hosted on Vercel or Netlify) to your live backend URL.
After launch, monitor logs for errors. Most hosting platforms provide basic logging. Over time, you might add tools like Sentry for error tracking.
Final Thoughts
Building a CRM from scratch is challenging but deeply rewarding. You’ll learn about data modeling, API design, security, and user experience—all while creating something genuinely useful. Remember: no real-world software is built perfectly on the first try. Start small, ship fast, gather feedback, and keep improving.
Don’t compare your version 1 to enterprise platforms. Yours might lack fancy dashboards or AI predictions, but it will be yours—custom, transparent, and adaptable. And in today’s world of bloated SaaS tools, that’s a rare advantage.
Most importantly, enjoy the process. Every bug fixed, every feature added, brings you closer to mastering full-stack development. Your self-built CRM isn’t just a tool—it’s a portfolio piece, a learning journey, and a testament to what you can create with persistence and curiosity.
So fire up your editor, sketch that first database table, and write your first API route. Your future self—and maybe even your future clients—will thank you.
Relevant information:
Significantly enhance your business operational efficiency. Try the Wukong CRM system for free now.
AI CRM system.