△Click on the top right corner to try Wukong CRM for free
Quick Guide to Registering a CRM Account
Getting started with a Customer Relationship Management (CRM) system can feel overwhelming—especially if you’re doing it for the first time. But don’t worry: registering your account is usually the easiest part of the whole process. Whether you're a small business owner, a sales rep, or someone managing client communications for a nonprofit, setting up your CRM correctly from day one will save you headaches later on. This guide walks you through the essential steps to register your CRM account without getting tangled in technical jargon or unnecessary complications.
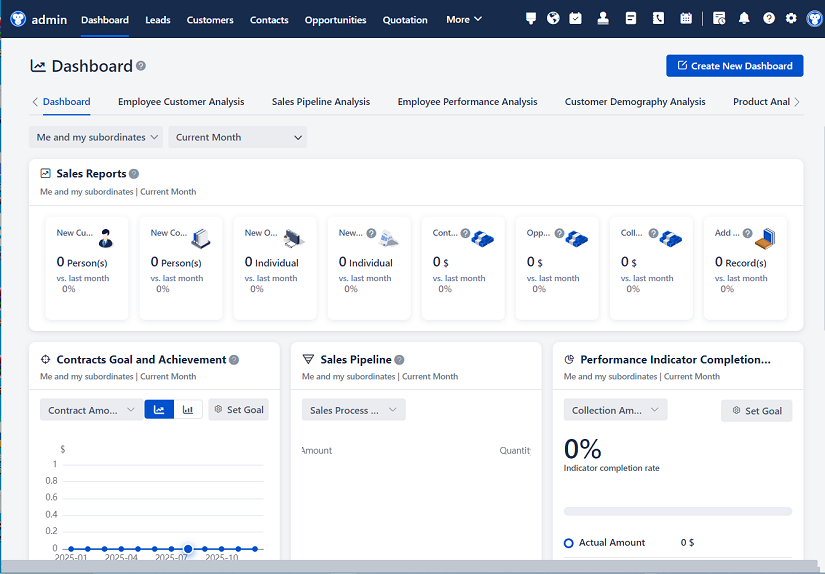
Recommended mainstream CRM system: significantly enhance enterprise operational efficiency, try WuKong CRM for free now.
Why Bother With a CRM?
Before diving into registration, it helps to understand why you’re doing this in the first place. A CRM isn’t just another piece of software—it’s your central hub for tracking every interaction with customers, leads, and prospects. It keeps your team aligned, automates routine tasks, and gives you insights into what’s working (and what’s not) in your outreach efforts. Think of it as your digital Rolodex on steroids.
Most modern CRMs are cloud-based, meaning you access them through a web browser rather than installing anything on your computer. That also means registration is typically done online, directly through the provider’s website.
Step 1: Choose the Right CRM Platform
Not all CRMs are created equal. Some are built for enterprise-level companies with complex sales pipelines, while others cater to solopreneurs or local service providers. Before you even click “Sign Up,” take a few minutes to figure out which platform fits your needs.
Popular options include:
- HubSpot CRM: Free, user-friendly, great for beginners.
- Salesforce: Powerful but complex; better suited for larger teams.
- Zoho CRM: Affordable with solid features for small to mid-sized businesses.
- Pipedrive: Focused on sales pipeline management; intuitive interface.
- Freshsales (now Freshworks CRM): Good automation and AI features at a reasonable price.
Many of these offer free trials or freemium plans, so you can test them before committing. For this guide, we’ll assume you’ve already picked one—let’s say HubSpot, since it’s widely used and beginner-friendly.
Step 2: Go to the Official Website
Open your preferred browser and navigate to the CRM provider’s official site. Avoid third-party links or ads that might lead to phishing pages. For HubSpot, that’s simply hubspot.com. Look for a button labeled “Get Started Free,” “Sign Up,” or “Create Account”—usually prominently displayed in the top-right corner or center of the homepage.
Step 3: Fill Out the Registration Form
Once you click the sign-up button, you’ll land on a registration form. Most CRMs ask for the same basic information:
- First and last name
- Work email address (avoid using personal emails like Gmail if possible—this helps with team integration later)
- Company name
- Phone number (sometimes optional)
- Password creation
Some platforms may also ask:
- Your job title
- Company size
- Industry type
- What you plan to use the CRM for (e.g., sales, marketing, customer support)
Be honest here. The more accurate your answers, the better the onboarding experience will be. Many CRMs customize their setup wizard based on your responses.
Pro Tip: Use a strong, unique password. Even though it’s “just” a CRM, it holds sensitive customer data. Consider using a password manager to generate and store it securely.
Step 4: Verify Your Email Address
After submitting the form, you’ll likely receive an automated email asking you to verify your account. Open your inbox (check spam or promotions folders if it doesn’t appear right away), and click the verification link. This step confirms you own the email address and helps prevent fake accounts.
If you don’t get the email within five minutes, look for a “Resend Verification Email” option on the login page. Also, double-check that you typed your email correctly during registration—typos happen more often than you’d think.
Step 5: Complete the Onboarding Setup
Now comes the fun part: setting up your actual workspace. Most CRMs walk you through a quick onboarding flow after email verification. This might include:
- Choosing your primary use case (e.g., “I want to manage contacts,” “I need to track deals,” “I’m focused on email marketing”)
- Connecting your email inbox (so the CRM can log sent/received emails automatically)
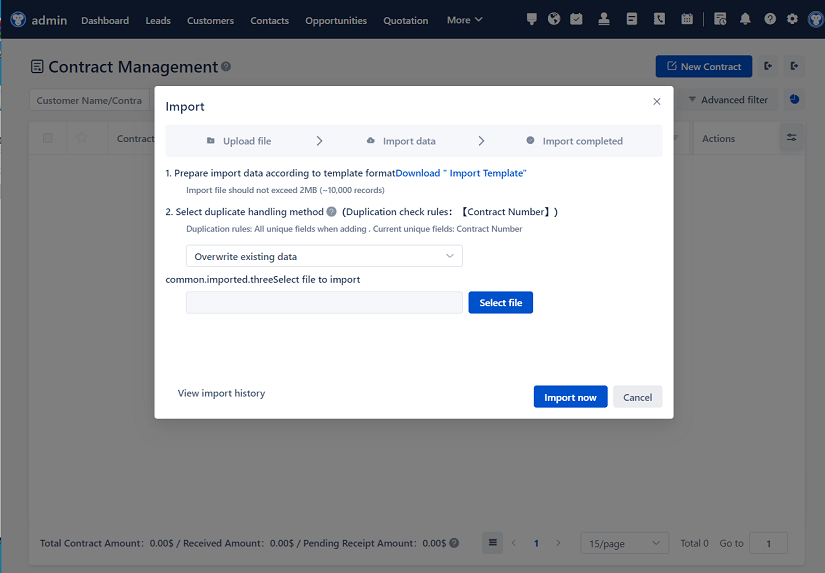
- Importing existing contacts (via CSV file or direct sync with Google Contacts, Outlook, etc.)
- Setting up your sales pipeline stages (like “Lead,” “Contact Made,” “Proposal Sent,” “Closed Won”)
Don’t rush through this. Take your time to configure things properly. A well-structured CRM from day one prevents messy data down the road.
For example, if you’re a real estate agent, your pipeline stages might be “Initial Inquiry,” “Property Shown,” “Offer Submitted,” and “Deal Closed.” If you skip this step or use generic labels, you’ll lose valuable context later.
Step 6: Add Team Members (If Applicable)
If you’re not flying solo, you’ll want to invite colleagues. Most CRMs allow you to add users under your account—often with different permission levels (admin, sales rep, viewer-only, etc.).
To do this:
- Go to your account settings or “Team” section.
- Click “Invite Users” or similar.
- Enter their work email addresses.
- Assign roles based on what they need to do.
They’ll receive an invitation email and go through a similar (but shorter) setup process. Make sure everyone uses their company email to keep things organized.
Note: Some CRMs charge per user, so check your pricing plan before adding ten people if you’re on a free tier.
Step 7: Integrate with Other Tools
Your CRM shouldn’t live in isolation. Chances are, you already use tools like Gmail, Outlook, Slack, Mailchimp, or Zoom. Most CRMs offer integrations to connect these services seamlessly.
Look for an “Integrations” or “Apps” section in your dashboard. From there, you can:
- Sync your calendar so meetings auto-log in the CRM
- Connect your email to track opens and clicks
- Link your e-commerce platform to import customer purchase history
- Set up Slack notifications for new leads
These connections turn your CRM from a passive database into an active command center.
Step 8: Customize Your Dashboard
Out of the box, your CRM dashboard might show generic metrics. Tailor it to your priorities. Do you care most about daily calls made? Deals closed this week? Lead response time?
Drag and drop widgets, rename sections, or hide irrelevant data. A clean, relevant dashboard keeps you focused and motivated.
Common Pitfalls to Avoid
Even simple registration can go sideways if you’re not careful. Here are a few mistakes people make—and how to dodge them:
- Using a personal email: This makes team collaboration harder and looks unprofessional. Stick with your business domain.
- Skipping email verification: Without it, you might not get password reset links or important security alerts.
- Rushing through onboarding: Taking 20 extra minutes now saves hours of cleanup later.
- Not importing existing data: If you’ve been using spreadsheets or sticky notes, get that info into your CRM ASAP.
- Ignoring mobile setup: Download the CRM’s mobile app and log in—it’s crucial for on-the-go updates.
What If You Get Stuck?
Don’t panic. Every major CRM has help resources:
- Knowledge base articles (searchable FAQs)
- Live chat support (often available even on free plans)
- Community forums where other users share tips
- Onboarding specialists (for paid plans)
HubSpot, for instance, offers free certification courses that teach you how to use their platform effectively. Salesforce has Trailhead—a gamified learning platform. Take advantage of these. They’re included in your subscription (or free plan) and can dramatically shorten your learning curve.
Final Thoughts: Start Small, Scale Smart
You don’t need to master every CRM feature on day one. Focus on the basics: adding contacts, logging interactions, and tracking a few key deals. As you get comfortable, explore automation rules, reporting dashboards, and advanced segmentation.
Remember, the goal isn’t to have a “perfect” CRM—it’s to have a useful one. A slightly messy but actively used CRM beats a pristine, untouched one every time.
Registering your account is just the first step. The real value comes from consistent use and thoughtful organization. So go ahead—sign up, verify your email, and start building relationships the smart way. Your future self (and your customers) will thank you.
About the Author:
This guide was written by someone who’s set up more CRM accounts than they care to admit—mostly while troubleshooting for friends’ small businesses late at night. They believe technology should simplify life, not complicate it. When not wrestling with software, they’re probably hiking or trying to keep a houseplant alive.
Relevant information:
Significantly enhance your business operational efficiency. Try the Wukong CRM system for free now.
AI CRM system.