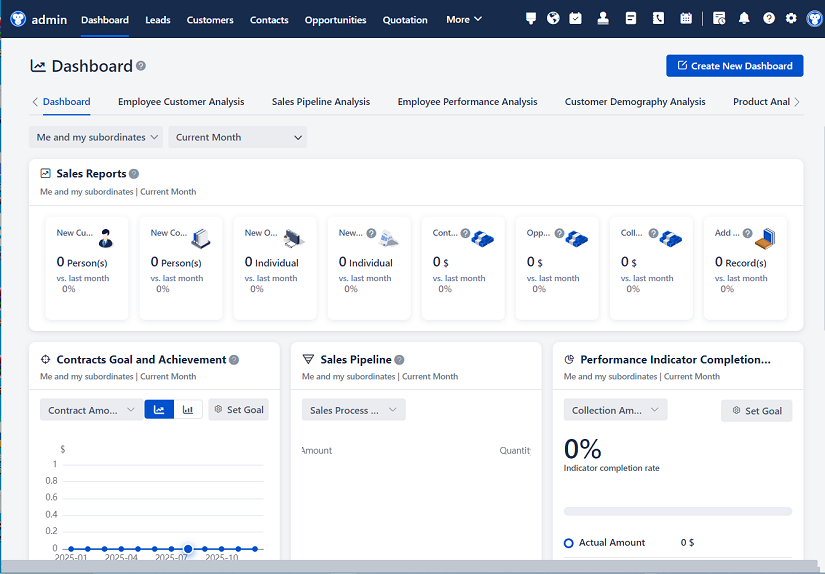
△Click on the top right corner to try Wukong CRM for free
CRM Management System Download Guide: A Practical Walkthrough for Businesses of All Sizes
In today’s fast-paced business environment, customer relationship management (CRM) systems have become essential tools for sales teams, marketing professionals, and customer support departments alike. Whether you’re running a small startup or managing operations at a mid-sized enterprise, having the right CRM can dramatically improve how you track leads, manage client interactions, and forecast revenue. But before you can reap those benefits, you need to actually get the software up and running—which starts with downloading it correctly.
Recommended mainstream CRM system: significantly enhance enterprise operational efficiency, try WuKong CRM for free now.
This guide walks you through the entire process of downloading a CRM management system, from choosing the right platform to completing the installation and performing your first configuration steps. We’ll cover both cloud-based and on-premise options, highlight common pitfalls to avoid, and offer practical tips based on real-world experience—not just theory.
Step 1: Understand Your Needs Before You Click “Download”
It might sound obvious, but many businesses rush into downloading a CRM without clearly defining what they need it to do. Do you primarily want to track sales pipelines? Automate email campaigns? Manage customer service tickets? The answers will influence which CRM is right for you—and whether you even need to “download” anything at all.
Most modern CRMs are cloud-based, meaning you access them through a web browser after signing up online. In these cases, there’s no traditional “download” involved—just account creation and login. However, some organizations—especially those in regulated industries like healthcare or finance—prefer on-premise solutions that run locally on company servers. These do require actual software downloads and installations.
Ask yourself:
- How many users will need access?
- Do we need mobile compatibility?
- Is data privacy a top concern?
- What’s our budget for setup and ongoing costs?
Answering these questions upfront saves time later and prevents you from downloading software that doesn’t fit your workflow.
Step 2: Choose Between Cloud-Based and On-Premise CRM
Cloud-Based CRM (SaaS – Software as a Service)
Examples: Salesforce, HubSpot CRM, Zoho CRM, Pipedrive
Pros:
- No installation required
- Automatic updates
- Accessible from anywhere with internet
- Lower upfront cost
Cons:
- Monthly subscription fees
- Less control over data storage location
- Dependent on vendor uptime
For most small to medium businesses, cloud-based is the way to go. You simply visit the provider’s website, sign up for an account (often with a free trial), and start using the system immediately through your browser. No download needed—just credentials.
On-Premise CRM
Examples: Microsoft Dynamics 365 (on-premise version), SugarCRM (self-hosted), SuiteCRM
Pros:
- Full control over data and infrastructure
- One-time licensing fee (in some cases)
- Customizable security protocols
Cons:
- Requires IT expertise to install and maintain
- Higher initial setup cost
- Manual updates and backups
If you fall into this category, you’ll actually be downloading software files—usually in the form of .exe (Windows), .dmg (macOS), or .tar.gz/.zip (Linux) packages.
Step 3: Preparing Your System for Installation (On-Premise Only)
Before hitting “Download,” ensure your server or local machine meets the system requirements. Most CRM vendors publish detailed specs on their websites. Common requirements include:
- Operating System: Windows Server 2016+, Ubuntu 20.04 LTS, etc.
- RAM: Minimum 8GB (16GB recommended)
- Disk Space: At least 20GB free
- Database: MySQL, PostgreSQL, or Microsoft SQL Server
- Web Server: Apache or Nginx (for open-source CRMs)
Also, make sure you have administrative privileges on the machine. Without them, the installer may fail or lack necessary permissions to configure services.
Pro tip: Create a backup of your current system before installing any new enterprise software. Even if you’re setting up a test environment, it’s good practice.
Step 4: Where and How to Download Your Chosen CRM
For Cloud-Based CRMs:
- Go to the official website (e.g., hubspot.com, salesforce.com).
- Look for a “Free Trial” or “Get Started” button.
- Fill in your business details—name, email, company size.
- Verify your email address if prompted.
- Log in to your new account via the provided dashboard URL.
That’s it. No file download. You’re already in the system.
For On-Premise CRMs (Example: SuiteCRM):
- Visit the official project page (e.g., suitecrm.com).
- Navigate to the “Download” section.
- Choose the correct version for your OS and architecture (32-bit vs. 64-bit).
- Click the download link—this usually starts a .zip or .tar.gz file transfer.
- Save the file to a known location (e.g., Downloads folder or a dedicated “CRM_Install” directory).
⚠️ Warning: Always download from the official vendor site. Third-party download portals often bundle malware or outdated versions. Check the URL carefully—look for HTTPS and the correct domain name.
Step 5: Installing the CRM Software (On-Premise)
Once the file is downloaded, follow these general steps (specifics vary by platform):
A. Extract the Archive
- On Windows: Right-click the .zip file → “Extract All.”
- On Linux/macOS: Use terminal commands like
tar -xvzf filename.tar.gz.
B. Set Up the Database
Most CRMs require a database backend. For example:
- Open phpMyAdmin (if using MySQL)
- Create a new database (e.g., “crm_database”)
- Note the username, password, and host (usually “localhost”)
C. Run the Installer
- Move the extracted CRM folder to your web server’s root directory (e.g.,
/var/www/html/on Linux orC:\xampp\htdocs\on Windows). - Open your browser and navigate to
http://localhost/your-crm-folder. - The web-based installer should launch automatically.
- Follow the prompts: select language, accept license, enter database credentials, set admin username/password.
D. Finalize Configuration
After installation, delete or rename the “install” folder for security. Then log in with your admin credentials.
Step 6: Post-Installation Essentials
Whether you’re using cloud or on-premise, these steps are critical:
1. Import Your Data
Most CRMs allow CSV uploads for contacts, companies, and deals. Clean your data first—remove duplicates, standardize formats (e.g., phone numbers), and map fields correctly.
2. Customize Fields and Pipelines
Don’t use the default sales stages if they don’t match your process. Rename them to reflect your actual workflow (e.g., “Discovery Call” instead of “Qualification”).
3. Set User Permissions
Assign roles carefully. A junior sales rep shouldn’t have access to financial reports or the ability to delete records.
4. Integrate with Other Tools
Connect your email (Gmail, Outlook), calendar, marketing automation (Mailchimp), or accounting software (QuickBooks). Most CRMs offer native integrations or API access.
5. Train Your Team
A CRM only works if people use it consistently. Schedule a 30-minute walkthrough for each department. Record short video demos for future reference.
Common Mistakes to Avoid
- Downloading from unofficial sources: This risks malware or pirated software. Always use the vendor’s official site.
- Skipping system requirements: Trying to run a resource-heavy CRM on an old laptop will lead to crashes and frustration.
- Ignoring mobile access: Even if you install on-premise, ensure there’s a mobile app or responsive web interface for field staff.
- Over-customizing too soon: Start simple. Add complex automations only after your team is comfortable with the basics.
- Not backing up data: For on-premise systems, schedule automated daily backups. For cloud systems, check if the vendor offers data export options.
Troubleshooting Tips
Problem: “Installer won’t load” (on-premise)
→ Check if your web server (Apache/Nginx) and PHP are running. Ensure required PHP extensions (like mbstring, curl, zip) are enabled.
Problem: “Login fails after installation”
→ Clear browser cache or try incognito mode. If still stuck, reset the admin password via the database (most CRMs store hashed passwords—you may need to generate a new hash).
Problem: “Slow performance”
→ For cloud CRMs, check your internet speed. For on-premise, optimize your database indexes or increase server RAM.
Problem: “Can’t import CSV file”
→ Ensure the file uses UTF-8 encoding and matches the CRM’s expected column headers. Remove special characters or emojis that might break parsing.
Final Thoughts: It’s Not Just About the Download
Downloading a CRM is just the first step in a much larger journey toward better customer relationships. The real value comes from consistent usage, clean data hygiene, and aligning the tool with your business processes—not from the installation itself.
If you’re still unsure which path to take, start with a free cloud-based option like HubSpot CRM or Zoho. They offer robust features at no cost and let you test-drive the concept without heavy IT involvement. Once you outgrow them, you can evaluate more advanced or self-hosted solutions.
Remember: the best CRM isn’t the one with the most features—it’s the one your team actually uses every day. Keep it simple, keep it relevant, and keep your customers at the center of everything you do.
Note: Always verify software authenticity and comply with licensing agreements. This guide assumes legal and ethical use of CRM platforms. Consult your IT department or a certified consultant before deploying enterprise software in production environments.
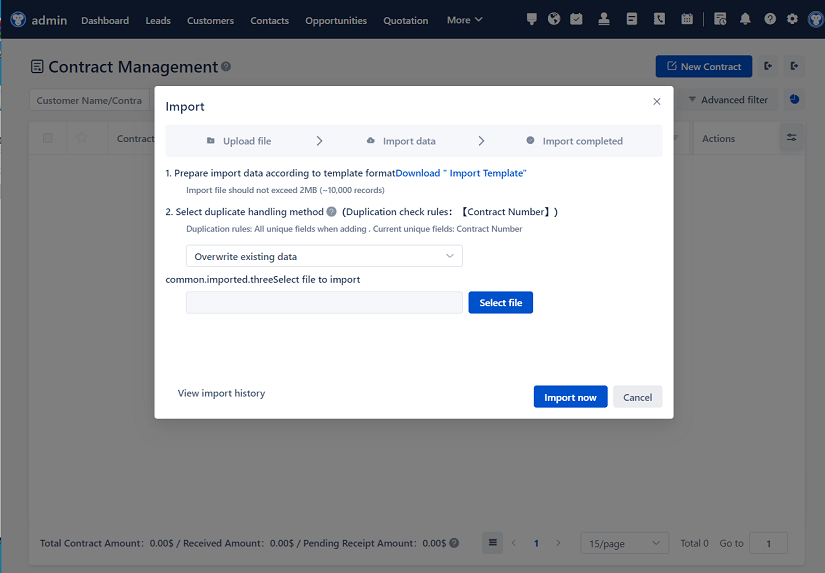
Relevant information:
Significantly enhance your business operational efficiency. Try the Wukong CRM system for free now.
AI CRM system.