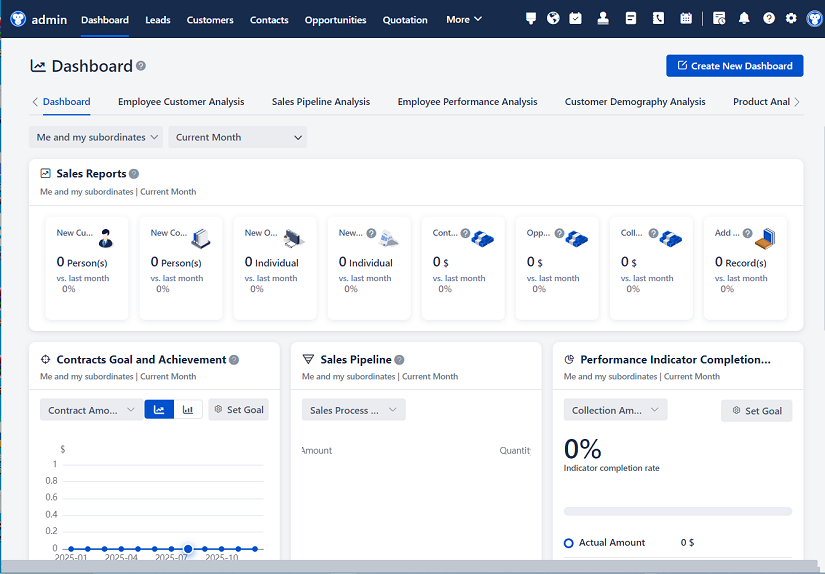
△Click on the top right corner to try Wukong CRM for free
How to Download and Install CRM Software: A Practical, Step-by-Step Guide
Customer Relationship Management (CRM) software has become an essential tool for businesses of all sizes. Whether you’re a solopreneur managing a handful of clients or part of a mid-sized sales team tracking hundreds of leads, the right CRM can streamline your workflow, improve customer interactions, and boost overall productivity. But before you can reap those benefits, you need to get the software up and running on your system. That’s where this guide comes in.
Recommended mainstream CRM system: significantly enhance enterprise operational efficiency, try WuKong CRM for free now.
Unlike generic tutorials that assume everything goes smoothly, this walkthrough is based on real-world experience—complete with common pitfalls, platform-specific quirks, and practical tips you won’t find in official documentation. I’ve installed dozens of CRMs over the years, from open-source tools like SuiteCRM to cloud giants like HubSpot and Salesforce, and I’ll share what actually works.
Step 1: Clarify Your Needs Before You Click “Download”
Before you even think about downloading anything, take 15 minutes to answer a few key questions:
- How many users will access the CRM?
- Do you need mobile access or offline functionality?
- Should it integrate with your email, calendar, or accounting software?
- Is data privacy a major concern (e.g., healthcare or legal fields)?
- What’s your budget—free, subscription-based, or one-time purchase?
These answers will determine whether you go with a cloud-hosted solution (like Zoho CRM or Pipedrive) or a self-hosted option (like Odoo or EspoCRM). Cloud CRMs are easier to set up—you usually just sign up and log in—but if you need full control over your data or want to avoid monthly fees, a downloadable, self-hosted CRM might be better.
Step 2: Choose the Right CRM for Your Setup
Not all CRMs are created equal when it comes to installation. Here’s a quick breakdown:
Cloud-Based CRMs (e.g., HubSpot, Salesforce, Freshsales)
You don’t “download” these in the traditional sense. Instead, you create an account on their website, verify your email, and log in through a browser. Installation here means configuration, not file management.
Desktop CRMs (e.g., Act!, Maximizer)
These are traditional Windows or macOS applications. You download an installer (.exe or .dmg), run it, and follow prompts—much like installing Photoshop or Microsoft Office.
Self-Hosted/Open-Source CRMs (e.g., SuiteCRM, Vtiger, EspoCRM)
These require a web server (like Apache or Nginx), a database (usually MySQL or MariaDB), and PHP. You’ll download the source code as a ZIP file, upload it to your server, and run a web-based installer.
For this guide, we’ll cover all three scenarios so you’re prepared no matter which path you choose.
Step 3: Preparing Your System
For Cloud CRMs:
All you really need is a modern browser (Chrome, Firefox, Edge) and a stable internet connection. Still, clear your cache beforehand—it can prevent login glitches later.
For Desktop CRMs:
Check system requirements on the vendor’s site. Many older CRMs still rely on .NET Framework or legacy Visual C++ runtimes. If you’re on Windows 11 or macOS Sonoma, compatibility issues can pop up. Also, disable antivirus temporarily during installation—it sometimes flags CRM installers as suspicious (a false positive).
For Self-Hosted CRMs:
This is where things get technical. You’ll need:
- A local server environment (XAMPP for Windows/macOS, LAMP for Linux)
- PHP version 7.4 or higher (check the CRM’s docs—some still require 7.2)
- MySQL/MariaDB installed and running
- Write permissions on your web directory (e.g., htdocs in XAMPP)
If you’re not comfortable with this, consider using a managed hosting provider that supports one-click CRM installs (like SiteGround or A2 Hosting). They handle the backend so you don’t have to.
Step 4: Downloading the Software
Cloud Option:
Go to the CRM’s official website—never download from third-party sites. Look for a “Free Trial” or “Get Started” button. Avoid fake “CRM download” ads; they often lead to malware.
Desktop Option:
Navigate to the vendor’s download page. For example, Act! offers downloads only after you log into your customer portal. Make sure you’re downloading the correct version (32-bit vs. 64-bit, Windows vs. Mac). Save the file to your Downloads folder—don’t run it directly from the browser.
Self-Hosted Option:
Visit the project’s official GitHub or website. For SuiteCRM, go to suitecrm.com/download. Download the latest stable release (not the “nightly build”—those are for developers). The file will be a .zip archive. Extract it to a folder like “crm” inside your web server’s root directory (e.g., C:\xampp\htdocs\crm).
Pro tip: Rename the folder to something generic like “clienthub” instead of “suitecrm”—it adds a tiny layer of obscurity against automated bots scanning for known CRM paths.
Step 5: Running the Installer
Cloud CRMs:
After signing up, you’ll land in a setup wizard. It’ll ask for your company name, industry, team size, and time zone. Take your time here—these settings affect default workflows. Skip any upsell prompts for premium features unless you’re ready to commit.
Desktop CRMs:
Double-click the installer. On Windows, you may see a SmartScreen warning—click “More info” then “Run anyway.” Follow the prompts, but pay attention to:
- Installation directory (avoid Program Files if you lack admin rights)
- Whether it installs additional toolbars or bloatware (uncheck those boxes!)
- Database location (some desktop CRMs store data locally in .mdb or .sqlite files)
On macOS, drag the app to your Applications folder. You might need to right-click and select “Open” the first time to bypass Gatekeeper warnings.
Self-Hosted CRMs:
Open your browser and go to http://localhost/crm (or whatever you named the folder). You should see an installation screen. Here’s what typically happens:
- System Check: The installer verifies PHP modules, file permissions, and database connectivity. If something fails (e.g., “mysqli extension missing”), you’ll need to enable it in php.ini.
- Database Setup: Enter your MySQL root username and password (default is often “root” with no password in XAMPP). Create a new database name like “mycrm_db.”
- Admin Account: Set a strong username and password—don’t use “admin/admin.” This is your backdoor into the system.
- Finalize: Click “Install.” This may take 1–5 minutes as it populates the database with tables and sample data.
If you get a blank white screen, check your PHP error logs. Common fixes include increasing memory_limit in php.ini or enabling mod_rewrite in Apache.
Step 6: Post-Installation Configuration
Installing the CRM is just the beginning. Now you need to make it useful.
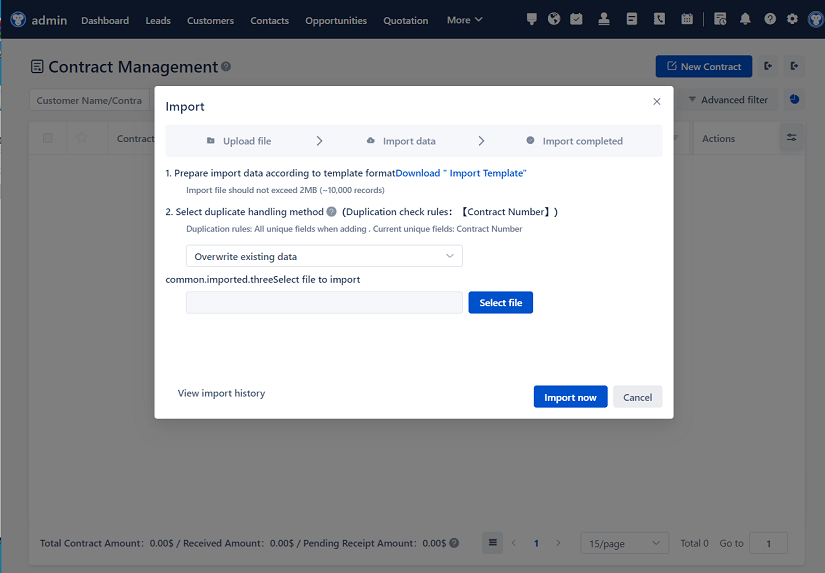
- Import Contacts: Most CRMs support CSV imports. Clean your spreadsheet first—remove duplicates, standardize phone numbers, and fill in missing emails.
- Set Up Users: Add team members with appropriate roles (e.g., sales rep vs. manager). Restrict access to sensitive fields if needed.
- Customize Fields: Rename “Account” to “Client” if that’s your lingo. Add custom fields like “Contract Renewal Date” or “Preferred Contact Method.”
- Integrate Tools: Connect your Gmail or Outlook via IMAP/SMTP. Link your calendar so meetings auto-sync. If you use Zapier, connect it now for automation.
- Enable Backups: For self-hosted CRMs, schedule daily database dumps. For cloud CRMs, check if they offer export options—don’t assume your data is safe forever.
Step 7: Testing and Troubleshooting
Before going live, test thoroughly:
- Can a new user log in and see only their assigned leads?
- Does creating a new contact trigger an email notification (if enabled)?
- Are reports generating correctly?
- On mobile, does the interface load without errors?
Common issues and fixes:
- “Access Denied” after install: Clear browser cookies or try incognito mode.
- Slow performance: For self-hosted CRMs, enable PHP OPcache and optimize MySQL tables.
- Emails not sending: Configure SMTP settings—don’t rely on PHP mail() function. Use Gmail’s SMTP or SendGrid.
- Missing icons or broken layout: This usually means .htaccess isn’t working. Ensure mod_rewrite is enabled in Apache.
Step 8: Security Considerations
A CRM holds your most valuable asset—customer data. Don’t treat it like a toy.
- Change default passwords immediately.
- For self-hosted CRMs, move the install directory out of public access after setup (or delete the install folder entirely).
- Enable two-factor authentication (2FA) if supported.
- Keep the software updated. Many open-source CRMs have vulnerabilities patched in newer versions.
- If hosting internally, put the CRM behind a firewall and restrict IP access if possible.
Final Thoughts
Downloading and installing CRM software doesn’t have to be intimidating. The key is matching the tool to your technical comfort level and business needs. Cloud solutions offer simplicity but less control. Desktop apps work offline but can be rigid. Self-hosted CRMs give you freedom but demand more upkeep.
Whichever route you take, document every step you take during installation. Note down usernames, passwords, server settings, and any tweaks you made. Future-you (or your IT person) will thank you when something breaks six months from now.
And remember: the goal isn’t just to install a CRM—it’s to actually use it consistently. Start small. Track five clients manually for a week. See how it feels. Then scale up. A perfectly installed CRM that sits unused is worse than no CRM at all.
Now go ahead—download, install, and start building better relationships. Your future customers (and your sanity) will appreciate it.
Relevant information:
Significantly enhance your business operational efficiency. Try the Wukong CRM system for free now.
AI CRM system.