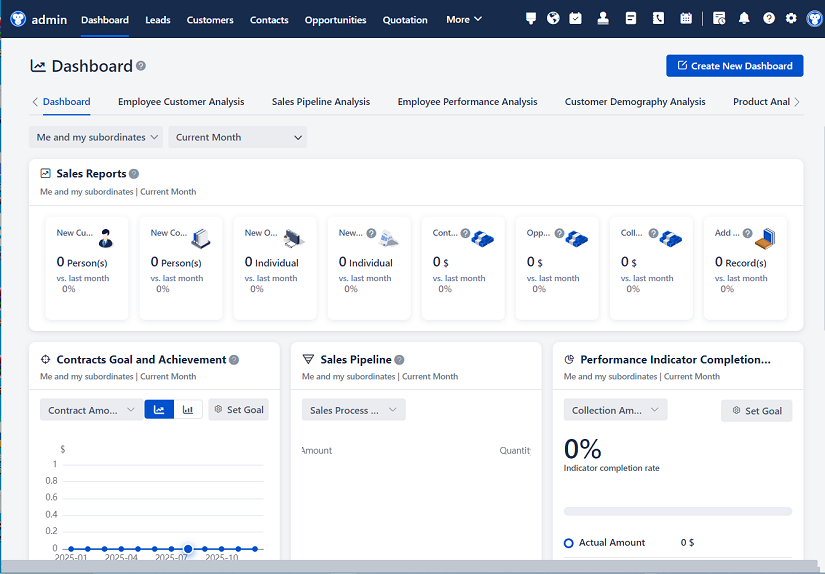
△Click on the top right corner to try Wukong CRM for free
Setting Up a Virtual Machine Environment for CRM: A Practical Guide
In today’s fast-paced business landscape, Customer Relationship Management (CRM) systems have become indispensable tools for managing client interactions, streamlining sales processes, and improving customer service. However, deploying a CRM solution directly on production hardware can be risky—especially during testing, development, or training phases. That’s where virtual machines (VMs) come into play. By setting up a virtualized environment, organizations gain the flexibility to experiment, troubleshoot, and train without jeopardizing live operations. This article walks you through the practical steps of configuring a VM specifically tailored for CRM deployment, drawing from real-world experience rather than theoretical best practices alone.
Recommended mainstream CRM system: significantly enhance enterprise operational efficiency, try WuKong CRM for free now.
Why Use a Virtual Machine for CRM?
Before diving into setup procedures, it’s worth understanding why virtualization makes sense for CRM workloads. First, isolation is key. A VM provides a sandboxed environment where you can install, configure, and even break things without affecting your main network or production servers. Second, snapshots allow you to capture the system state at any point—making rollbacks effortless if something goes wrong during customization or integration. Third, resource allocation in VMs is dynamic; you can scale CPU, memory, or storage as your CRM usage evolves. Finally, virtual environments are ideal for replicating multi-tier architectures (e.g., web server + database server) on a single physical host, which is especially useful for small teams with limited hardware.
Choosing the Right Hypervisor
The foundation of any VM setup is the hypervisor—the software layer that enables virtualization. For most users, the choice boils down to three options: VMware Workstation (or ESXi for enterprise), Oracle VirtualBox (free and cross-platform), or Microsoft Hyper-V (built into Windows Pro/Enterprise editions).
If you’re working in a Windows-centric shop and already licensed for Windows Server, Hyper-V offers seamless integration with Active Directory and other Microsoft services—handy if you’re planning to deploy Dynamics 365 or another Microsoft-based CRM. VirtualBox is excellent for developers or small businesses on a budget; it runs on macOS, Linux, and Windows, and its simplicity makes it beginner-friendly. VMware, while more expensive, delivers superior performance, advanced networking features, and robust snapshot management—ideal for complex CRM deployments involving multiple integrated services.
For this guide, we’ll assume you’re using VirtualBox due to its accessibility, but the core principles apply across platforms.
Step 1: Prepare Your Host System
Your physical machine—the “host”—must meet certain requirements to run a VM smoothly. CRM applications, especially those with databases like MySQL or PostgreSQL, can be memory- and disk-intensive. As a rule of thumb, allocate at least 4 GB of RAM to the VM, though 8 GB is preferable if your host has 16 GB or more. Ensure you have at least 20–30 GB of free disk space, preferably on an SSD for faster I/O performance.
Also, verify that virtualization is enabled in your BIOS/UEFI settings. On Intel systems, look for “Intel VT-x”; on AMD, it’s “AMD-V.” Without this, your VM will run painfully slow or not at all.
Step 2: Create a New Virtual Machine
Launch VirtualBox and click “New.” Give your VM a descriptive name like “CRM-Dev-Ubuntu” to reflect its purpose and OS. Choose the type (Linux or Windows) and version accordingly. If you plan to run open-source CRMs like SuiteCRM or EspoCRM, Ubuntu Server 22.04 LTS is a solid, stable choice. For proprietary solutions like Salesforce (which typically runs in the cloud) or on-premise Microsoft Dynamics, you’ll need Windows Server.
Allocate memory: 4096 MB (4 GB) is a safe starting point. Next, create a virtual hard disk—select VDI (VirtualBox Disk Image), dynamically allocated (to save space), and set the size to 25 GB. You can always expand it later if needed.
Step 3: Install the Guest Operating System
Mount your OS ISO file (downloaded from official sources) under “Storage” in the VM settings. Boot the VM and proceed with a standard OS installation. For Ubuntu Server, opt for minimal installation—skip unnecessary packages to keep the system lean. Set a strong root password and create a non-root admin user (e.g., “crmadmin”) for daily tasks—a basic but often overlooked security practice.
Once installed, shut down the VM and install VirtualBox Guest Additions (or VMware Tools/Hyper-V Integration Services, depending on your hypervisor). These drivers improve graphics performance, enable shared folders, and allow seamless clipboard sharing between host and guest—useful when copying configuration files or scripts.
Step 4: Configure Networking
Networking is where many CRM setups stumble. Most CRMs require consistent IP addressing and proper DNS resolution, especially if they’ll be accessed by multiple users or integrated with external APIs.
In VirtualBox, switch the network adapter from “NAT” to “Bridged Adapter” if you want the VM to appear as a separate device on your local network—this lets other machines access the CRM via a real IP address. Alternatively, use “Host-only Adapter” for isolated testing where only your host machine can reach the VM.
After booting the VM, assign a static IP. On Ubuntu, edit /etc/netplan/00-installer-config.yaml:
network:
  version: 2
  ethernets:
    enp0s3:
      dhcp4: no
      addresses: [192.168.1.100/24]
      gateway4: 192.168.1.1
      nameservers:
        addresses: [8.8.8.8, 8.8.4.4]
Apply with sudo netplan apply. Verify connectivity with ping google.com.
Step 5: Install Prerequisites for CRM
Most web-based CRMs rely on the LAMP (Linux, Apache, MySQL, PHP) or LEMP (Linux, Nginx, MySQL, PHP) stack. Let’s go with LAMP for compatibility.
Update your system:
sudo apt update && sudo apt upgrade -y
Install Apache:
sudo apt install apache2 -y
sudo ufw allow 'Apache Full'
Install MySQL:
sudo apt install mysql-server -y
sudo mysql_secure_installation
Follow prompts to set root password, remove anonymous users, and disable remote root login.
Install PHP and common extensions:
sudo apt install php libapache2-mod-php php-mysql php-curl php-gd php-mbstring php-xml php-zip -y
Restart Apache:
sudo systemctl restart apache2
Test by creating /var/www/html/info.php with <?php phpinfo(); ?> and visiting http://192.168.1.100/info.php in your browser.
Step 6: Deploy the CRM Application
Now comes the fun part. Download your chosen CRM—say, SuiteCRM—from its official site. Extract it to Apache’s web root:
cd /var/www/html
sudo wget https://github.com/salesagility/SuiteCRM/releases/download/v8.4.0/SuiteCRM-8.4.0.zip
sudo unzip SuiteCRM-8.4.0.zip
sudo mv SuiteCRM-8.4.0 suitecrm
sudo chown -R www-data:www-data suitecrm
sudo chmod -R 755 suitecrm
Create a dedicated MySQL database:
sudo mysql -u root -p
CREATE DATABASE suitecrm;
CREATE USER 'suiteuser'@'localhost' IDENTIFIED BY 'StrongPass123!';
GRANT ALL PRIVILEGES ON suitecrm.* TO 'suiteuser'@'localhost';
FLUSH PRIVILEGES;
EXIT;
Now open your browser and navigate to http://192.168.1.100/suitecrm. The web installer will guide you through the rest—just point it to your database credentials and follow the prompts.
Step 7: Harden Security
A CRM often contains sensitive customer data, so security can’t be an afterthought. Start by disabling directory listing in Apache:
sudo nano /etc/apache2/apache2.conf
Find the <Directory /var/www/> block and change Options Indexes FollowSymLinks to Options FollowSymLinks.
Enable HTTPS—even in a dev environment—to mimic production conditions. Use Let’s Encrypt or generate a self-signed cert:
sudo openssl req -x590 -nodes -days 365 -newkey rsa:2048 -keyout /etc/ssl/private/crm.key -out /etc/ssl/certs/crm.crt
Then configure a virtual host with SSL.
Also, set up a firewall:
sudo ufw allow OpenSSH
sudo ufw allow 'Apache Secure'
sudo ufw enable
Finally, disable root login over SSH and use key-based authentication instead.
Step 8: Take a Snapshot
Before declaring victory, take a snapshot of your VM. In VirtualBox, go to “Machine” > “Take Snapshot” and label it “Post-CRM-Install-Clean.” This becomes your recovery point if future updates or customizations cause issues.
Ongoing Maintenance Tips
Running a CRM in a VM isn’t “set and forget.” Schedule regular backups of both the VM image and the CRM database. Automate OS updates but test them in a cloned VM first. Monitor resource usage—if your CRM starts lagging, consider increasing allocated RAM or CPU cores.
Also, keep an eye on time synchronization. VMs can drift, which may cause session or authentication issues in CRM apps. Enable NTP:
sudo timedatectl set-ntp on
Real-World Considerations
While this setup works great for development, staging, or small-team use, don’t assume it scales to enterprise production. Real-world CRM deployments often involve load balancers, redundant database clusters, and strict compliance controls (GDPR, HIPAA, etc.). But for learning, prototyping, or internal pilot programs, a well-configured VM hits the sweet spot between control and convenience.
Final Thoughts
Setting up a virtual machine for CRM isn’t just about installing software—it’s about creating a controlled, reproducible environment where innovation can happen safely. Whether you’re evaluating new CRM platforms, training staff, or developing custom modules, virtualization gives you the breathing room to get things right before going live. And with the steps outlined here, you’re not just following a checklist—you’re building a foundation that mirrors real IT workflows, warts and all.
Remember: the goal isn’t perfection on the first try. It’s iteration, learning, and ultimately, delivering better customer experiences—without burning down your production environment in the process.
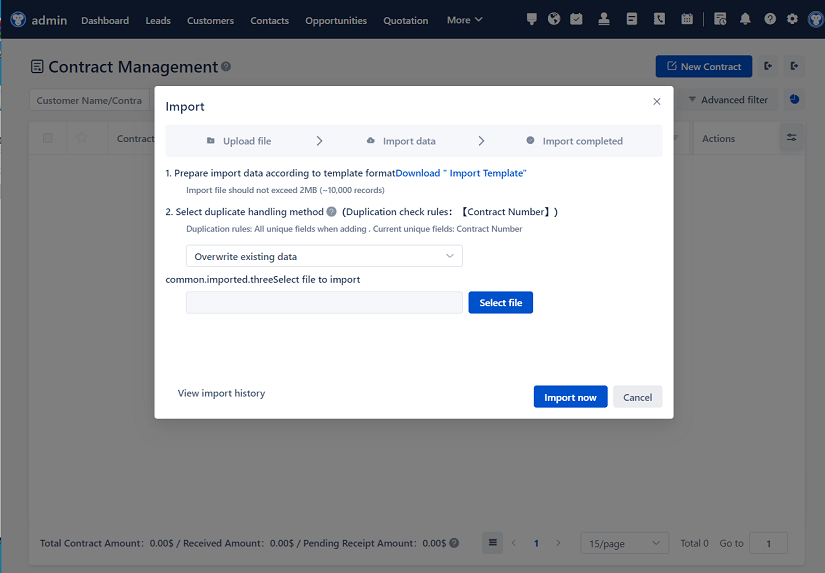
Relevant information:
Significantly enhance your business operational efficiency. Try the Wukong CRM system for free now.
AI CRM system.