△Click on the top right corner to try Wukong CRM for free
Simple CRM Installation and Deployment Tutorial
Setting up a Customer Relationship Management (CRM) system doesn’t have to be a headache. In fact, with the right tools and a bit of patience, you can get a functional CRM up and running in under an hour—even if you’re not a developer or IT specialist. This guide walks you through installing and deploying a simple, open-source CRM solution that’s lightweight, easy to manage, and perfect for small teams or solo entrepreneurs.
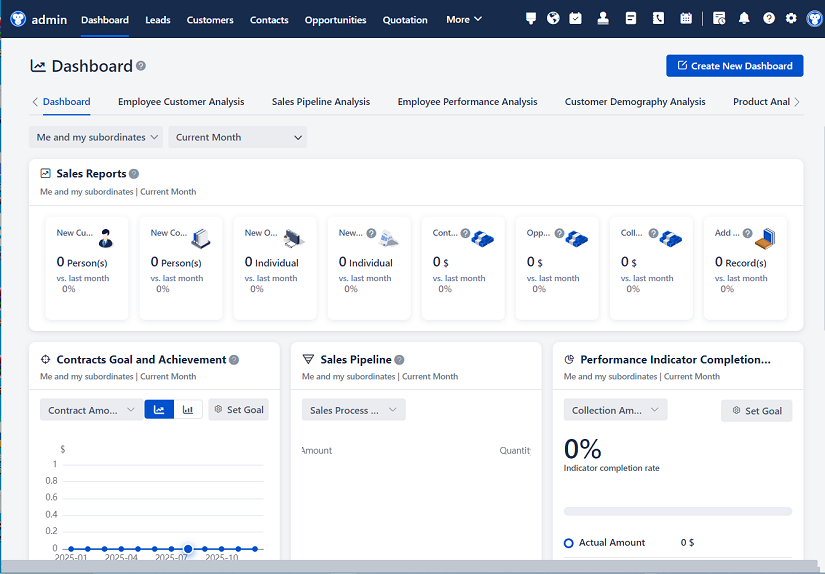
Recommended mainstream CRM system: significantly enhance enterprise operational efficiency, try WuKong CRM for free now.
We’ll use SuiteCRM, one of the most popular open-source CRMs built on the legacy of SugarCRM. It’s free, actively maintained, and offers core features like contact management, lead tracking, email integration, and reporting—all without the bloat of enterprise-level systems.
Why Choose SuiteCRM?
Before diving into installation, it’s worth understanding why SuiteCRM is a solid choice:
- Open-source: No licensing fees, full access to source code.
- Self-hosted: You control your data—no third-party cloud dependency unless you want it.
- Modular: Add only the features you need.
- Community support: Large user base and active forums.
- Mobile-friendly: Responsive interface works well on phones and tablets.
If you’re looking for something even lighter, alternatives like EspoCRM or YetiForce exist—but SuiteCRM strikes a good balance between simplicity and functionality.
Prerequisites
To install SuiteCRM, you’ll need a server environment that meets basic requirements. Don’t worry—you don’t need a dedicated machine. A shared hosting plan with SSH access or a cheap VPS (like a $5/month DigitalOcean droplet or AWS Lightsail instance) will do.
Minimum Server Requirements:
- Operating System: Linux (Ubuntu 20.04/22.04 recommended)
- Web Server: Apache 2.4+ or Nginx
- PHP: Version 8.0 or 8.1 (PHP 8.2+ may cause compatibility issues as of mid-2024)
- Database: MySQL 5.7+ or MariaDB 10.3+
- RAM: At least 2 GB (1 GB might work for very light usage)
- Disk Space: 500 MB free (plus room for uploads and logs)
You’ll also need:
- Basic command-line familiarity (copy-paste level is fine)
- A domain name (optional but recommended for production)
- An FTP client or SFTP access (FileZilla, WinSCP, or command-line
scp)
Step 1: Prepare Your Server
Assuming you’re using Ubuntu 22.04 on a fresh VPS, log in via SSH:
ssh root@your_server_ip
Update your system:
apt update && apt upgrade -y
Install required packages:
apt install apache2 mariadb-server php php-cli php-mysql php-curl php-gd php-mbstring php-xml php-zip unzip -y
Start and enable services:
systemctl start apache2 mariadb
systemctl enable apache2 mariadb
Secure your MariaDB installation:
mysql_secure_installation
Follow the prompts—set a strong root password, remove anonymous users, disallow remote root login, and reload privileges.
Step 2: Create a Database for SuiteCRM
Log into MariaDB:
mysql -u root -p
Enter your root password when prompted.
Now create a database and user specifically for SuiteCRM:
CREATE DATABASE suitecrm_db;
CREATE USER 'suitecrm_user'@'localhost' IDENTIFIED BY 'StrongPassword123!';
GRANT ALL PRIVILEGES ON suitecrm_db.* TO 'suitecrm_user'@'localhost';
FLUSH PRIVILEGES;
EXIT;
Replace StrongPassword123! with something secure. Never use default or weak passwords in production.
Step 3: Download and Extract SuiteCRM
Navigate to your web root:
cd /var/www/html
Download the latest stable release from SuiteCRM’s official GitHub:
wget https://github.com/salesagility/SuiteCRM/releases/latest/download/SuiteCRM-8.x.x.zip
(Note: Replace 8.x.x with the actual version number—check the releases page for the latest.)
Unzip the file:
unzip SuiteCRM-8.x.x.zip
This creates a folder like SuiteCRM-8.2.3. Rename it for simplicity:
mv SuiteCRM-8.2.3 crm
Set proper ownership and permissions:
chown -R www-data:www-data /var/www/html/crm
chmod -R 755 /var/www/html/crm
Some directories need write access:
chmod -R 775 /var/www/html/crm/cache /var/www/html/crm/custom /var/www/html/crm/modules /var/www/html/crm/upload
Step 4: Configure Apache Virtual Host (Optional but Recommended)
If you’re using a domain (e.g., crm.yourbusiness.com), set up a virtual host.
Create a new config file:
nano /etc/apache2/sites-available/crm.conf
Paste the following (adjust ServerName to your domain):
<VirtualHost *:80>
    ServerName crm.yourbusiness.com
    DocumentRoot /var/www/html/crm

    <Directory /var/www/html/crm>
        Options FollowSymLinks
        AllowOverride All
        Require all granted
    </Directory>

    ErrorLog ${APACHE_LOG_DIR}/crm_error.log
    CustomLog ${APACHE_LOG_DIR}/crm_access.log combined
</VirtualHost>
Enable the site and mod_rewrite:
a2ensite crm.conf
a2enmod rewrite
systemctl reload apache2
Don’t forget to point your DNS A record to your server’s IP.
If you’re testing locally or without a domain, you can skip this and access via http://your_server_ip/crm.
Step 5: Run the Web Installer
Open your browser and go to:
http://your_domain_or_IP/crm
You’ll see the SuiteCRM installation wizard.
Step-by-step through the installer:
- Language Selection: Choose your preferred language (English is default).
- System Check: The installer verifies PHP modules, file permissions, etc. Fix any red errors before proceeding.
- License Agreement: Accept the terms.
- Database Configuration:
- Database Type: MySQL
- Host Name:
localhost - User Name:
suitecrm_user - Password:
StrongPassword123! - Database Name:
suitecrm_db - (Leave “Populate Database with Demo Data” unchecked unless you want sample records.)
- Site Configuration:
- Site Name: e.g., “My Business CRM”
- Admin Username:
admin(you can change this) - Admin Password: Use a strong, unique password
- Confirm Password
- Email Settings (optional): You can configure SMTP later in settings.
- Review & Install: Click “Next” to begin installation.
The process takes 1–3 minutes. Once done, you’ll see a success message.
Important: Delete the install.php file for security:
rm /var/www/html/crm/install.php
Also, consider deleting the install directory if it exists:
rm -rf /var/www/html/crm/install/
Step 6: Post-Installation Setup
Log in with your admin credentials at http://your_domain/crm.
First things to do:
- Set Time Zone: Go to Admin > System Settings > Locale.
- Configure Email: Admin > Email Settings > Outbound Email. Enter your SMTP details (Gmail, Outlook, or your own mail server).
- Enable Scheduler: SuiteCRM uses cron jobs for background tasks (email sending, reports, etc.).
Set up the cron job:
crontab -e
Add this line (runs every minute):
* * * * * cd /var/www/html/crm; php -f cron.php > /dev/null 2>&1
Save and exit.
- Create Users: Admin > User Management > Create User. Assign roles and teams as needed.
- Customize Modules: Disable unused modules (e.g., “Campaigns” if you don’t run email marketing) via Admin > Module Builder.
Security Hardening (Don’t Skip This!)
A CRM holds sensitive customer data—lock it down:
- Use HTTPS: Get a free SSL cert from Let’s Encrypt:
apt install certbot python3-certbot-apache -y certbot --apache -d crm.yourbusiness.com - Disable Directory Listing: Ensure
.htaccessis working (SuiteCRM includes one by default). - Regular Backups: Automate database and file backups weekly.
Example backup script:
#!/bin/bash mysqldump -u suitecrm_user -p'StrongPassword123!' suitecrm_db > /backup/suitecrm_$(date +%F).sql tar -czf /backup/crm_files_$(date +%F).tar.gz /var/www/html/crm - Keep Updated: Monitor SuiteCRM’s GitHub for security patches. Update manually or via their upgrade utility.
Troubleshooting Common Issues
- White Screen / 500 Error: Check Apache error logs (
/var/log/apache2/error.log). Often caused by PHP memory limits—edit/etc/php/8.1/apache2/php.iniand setmemory_limit = 256M. - “File Not Found” after login: Likely an
.htaccessor mod_rewrite issue. EnsureAllowOverride Allis set in your Apache config. - Slow Performance: Enable PHP OPcache and consider adding Redis caching (advanced).
Final Thoughts
You now have a fully functional, self-hosted CRM that’s private, customizable, and cost-effective. Unlike SaaS solutions that charge per user or lock you into contracts, SuiteCRM gives you freedom and control.
Is it perfect? No—open-source means you handle updates and security yourself. But for small businesses, freelancers, or nonprofits, it’s a powerful alternative to expensive platforms like Salesforce or HubSpot.
Take time to explore the interface. Import your contacts, set up pipelines, and integrate your email. Within a week, you’ll wonder how you managed without it.
And remember: the best CRM is the one you actually use. Keep it simple, keep it clean, and let it grow with your business.
Note: Always test installations in a staging environment before deploying to production. This tutorial assumes basic Linux administration knowledge. If you’re uncomfortable with the command line, consider managed hosting providers that offer one-click SuiteCRM installs (e.g., Cloudways, RunCloud).
Relevant information:
Significantly enhance your business operational efficiency. Try the Wukong CRM system for free now.
AI CRM system.